How To
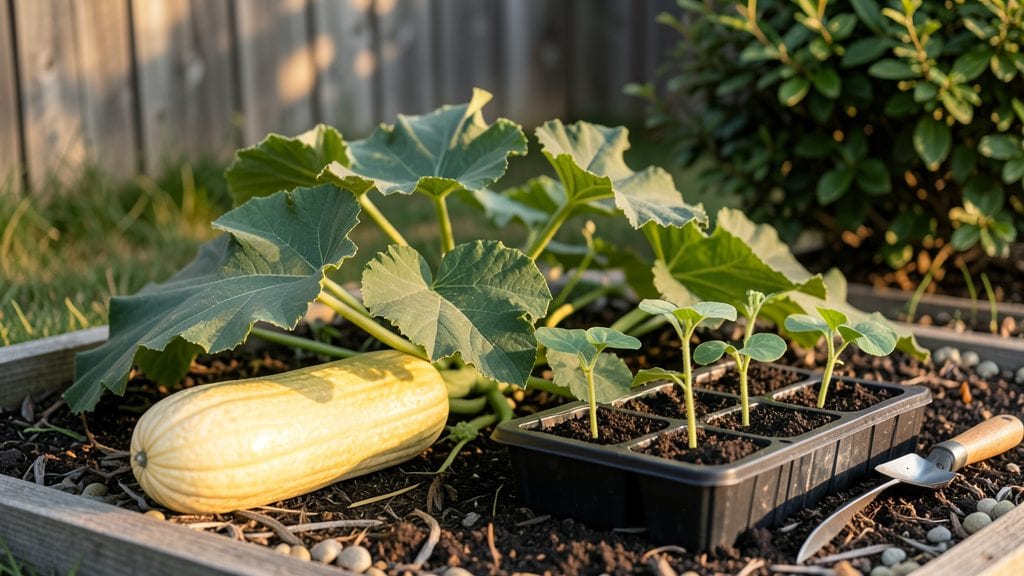
To plant spaghetti squash seeds for a fast, reliable harvest, timing and soil warmth are the keys—miss them, and you’ll wait weeks for sprouts (or worse, nothing at all).
Struggling to get your spaghetti squash 🎃 seeds to sprout? Timing and technique are everything—plant too early or too late, and you’ll miss the narrow window for fast germination and a bountiful harvest.
Here’s the secret: soil needs to stay above 70°F for seeds to break through quickly, which is why April–May is your best bet in most of the U.S. (Zone 6a and warmer).
Below, I’ll walk you through the exact steps—from soil prep to spacing—to ensure your seeds pop up in 7–10 days, not weeks, and grow into vines that produce heavy, golden squash by fall.


Spaghetti squash seed planting timeline: best months and climate Zones
Getting your spaghetti squash seeds to sprout reliably depends on two critical factors: soil temperature and USDA hardiness zone. These warm-season plants refuse to germinate in cold soil—wait until temperatures hit 75-90°F—or you’ll waste seeds and months of waiting.
Even in ideal zones, planting too early risks frost damage, while late starts squeeze your harvest window. Let’s break down the perfect timing for your climate.
Most gardeners in USDA Zones 3-5 should wait until mid-May to early June after the last frost date. In Zones 6-8, you have flexibility from April to June, but soil must be warm.
Southern gardeners in Zones 9-11 can start as early as February-March for fall harvests. The key is soil thermometers—never guess! Plant when the top 2 inches read consistently above 70°F.
Here’s how to adjust your planting timeline based on your zone and local conditions:
⚠️ Pro Tip: Use black plastic mulch or row covers to warm cold soil faster. This lets you plant 2-3 weeks earlier in marginal zones.
If you’re in a transitional zone (like Zone 5b or 7a), pay attention to microclimates. South-facing slopes warm up faster than shady spots.
I once planted spaghetti squash in a cold Zone 4 garden by using black plastic mulch and a cold frame—germination happened in just 5 days instead of the usual 10!
For container growing, choose large pots (15+ gallons) and plant in June after soil warms. Containers heat up faster, so monitor soil temps closely. In my Zone 6 garden, potted squash always ripens 2 weeks earlier than in-ground plants because the soil stays warmer.
🌱 Key Takeaway: The 75-90°F soil rule is non-negotiable. Use a soil thermometer for 3 consecutive days above 70°F before planting. This simple tool saves hours of frustration!
What if you miss the ideal window? Don’t panic! You can still plant spaghetti squash seeds in July for a smaller harvest, but expect fruits to mature 4-6 weeks later. Just be prepared to harvest before frost—these squash won’t survive freezing temperatures.
💡 Advanced Tip: Try succession planting every 2 weeks in Zones 6-10. This stretches your harvest from August to October and ensures you always have fresh squash. My Zone 7 garden now produces 3 harvests instead of just one!
Step-by-step guide to direct-sowing spaghetti squash seeds for maximum germination
Direct-sowing spaghetti squash seeds is your best bet for hardy, disease-resistant plants—especially when you nail the soil temperature, seed depth, and watering rhythm.
Unlike transplants, seeds sown in warm soil (75°F+) sprout reliably in 7-14 days, but even a few degrees cooler can stall germination for weeks. I’ve learned the hard way that rushing the process leads to weak seedlings or rot.
For peak results, focus on three critical factors: well-draining soil enriched with compost, proper spacing to prevent competition, and gentle but consistent moisture to avoid seed rot.
Skipping any of these steps risks poor germination rates or fungal infections. Let’s break it down into actionable steps to ensure your seeds sprout like clockwork.
How to Plant Spaghetti Squash Seeds
- 1. Prep the Soil: Choose a sunny, well-draining spot with 6+ hours of sunlight. Mix 2-3 inches of compost into the top 6 inches of soil to improve fertility and drainage. Spaghetti squash hates soggy roots, so avoid low-lying areas where water pools.
- 2. Test Soil Temperature: Use a soil thermometer to confirm the soil is at least 75°F. If it’s cooler, wait—cold soil delays germination for weeks. In cooler climates, use black plastic mulch 1-2 weeks before planting to warm the soil faster.
- 3. Plant Seeds at the Right Depth: Dig holes 1-1.5 inches deep (never deeper—this smothers seeds). Space seeds 3-4 feet apart in rows 4-5 feet apart to give vines room to sprawl. Plant 2-3 seeds per hole and thin to the strongest seedling later.
- 4. Water Gently but Firmly: After planting, water deeply (1-2 inches) to settle the soil. Keep the area consistently moist but not soggy—aim for damp, not drenched soil. Use a fine mist spray for the first week to avoid washing seeds away.
- 5. Mulch to Retain Moisture: Apply 2-3 inches of straw or shredded leaves around plants to lock in moisture and suppress weeds. Mulch also keeps soil temps stable, which speeds up germination. Avoid thick mulch piles directly on seeds—keep it 1 inch away from planting holes.
- 6. Monitor for Sprouts: Check daily for tiny green shoots (they appear in 7-14 days if conditions are ideal). Once sprouts emerge, reduce watering slightly to prevent rot. Thin seedlings to 1 plant per hole when they’re 3-4 inches tall, using scissors to avoid disturbing roots.
- 7. Harden Off Seedlings: After 2-3 weeks, seedlings are ready for full sun exposure. Gradually move them to brighter light over 5-7 days to prevent shock. Avoid transplanting—direct-sown squash establishes stronger roots.
Pro tip: If you’re in a short-season climate, opt for early-maturing varieties like ‘Golden Hubbard’ (85 days) or ‘Delicata’ (90 days). These handle cooler soils better and still yield abundant, stringless flesh.
I’ve had the most success with seeds sown in late April to early May—just after the last frost but before summer heat peaks.
Once your seedlings hit 2 feet tall, they’ll need sturdy trellises or row covers to protect against squash bugs and deer. But for now, focus on keeping that soil warm, moist, and weed-free.
With these steps, you’ll go from seed to sprout in record time—no more waiting months for germination!
🌱