How To
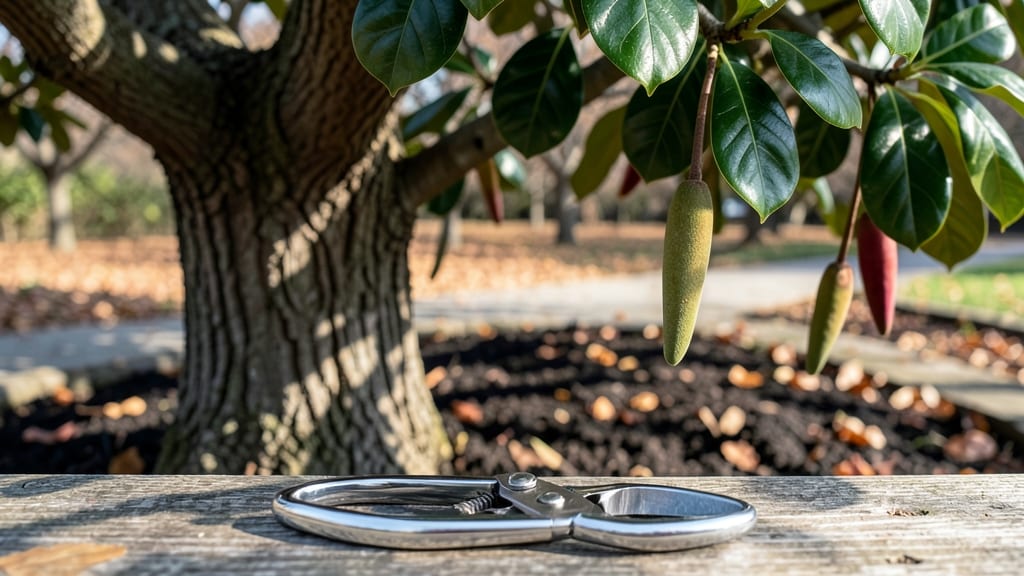
Harvesting magnolia seeds at the right time turns a simple pod into a future shade tree—if you know what to look for.
Did you know magnolia seeds can grow into stunning trees—but only if harvested at the perfect moment? Timing, technique, and proper storage are key to ensuring viable germination for your garden.
Most gardeners miss the window because they focus on the wrong cues: green pods or soft seeds. The truth? You’re ready when those 🌸 brown follicles split open on their own, revealing plump, dark seeds inside.
One wrong move, and you could end up with seeds that won’t sprout—or worse, mold before they even dry.
In this guide, I’ll walk you through the exact steps to spot ripe seeds, extract them without damage, and store them for months—so you can plant them in spring and watch your magnolia grow from seed to sapling.

When and how to identify ripe magnolia seeds for harvesting
Harvesting magnolia seeds at the right time ensures high germination rates and healthy seedlings. The key lies in watching for visual cues and understanding your local climate. Miss this window, and you risk collecting seeds that won’t sprout—or worse, attracting pests to your garden.
Let’s break down the critical signs and timing to harvest magnolia seeds successfully.
Magnolia seeds mature inside woody seed pods called follicles. These pods start green but gradually turn brown and papery as they dry. The best time to harvest is when the pods split open naturally, typically between late summer and early fall (August-September in most USDA zones 6-9).
In cooler climates, this process may extend into October, while warmer regions might see earlier ripening.
Here’s a quick reference to help you spot ripe magnolia seeds:
Don’t confuse ripe pods with those that are overripe. Overripe pods may split open on their own, scattering seeds on the ground. If you see seeds already fallen, they’ve likely lost viability. Collect pods before they fully dehisce (release seeds naturally) to maximize your yield.
Pro tip: Shake a ripe pod over a white tray—if seeds rain down easily, it’s harvest time!
Weather plays a crucial role in seed ripening. In humid climates, pods may stay green longer due to moisture. Conversely, dry, sunny conditions accelerate ripening. If rain is forecasted, harvest a few days early to avoid mold or rot in your seeds.
Always work on a dry, sunny day to ensure pods are fully dry before handling.
One common mistake is harvesting seeds too early. Green pods contain underdeveloped seeds that won’t germinate. To test readiness, gently press a pod—if it resists opening, wait a few more days.
Another trick is to cut open a pod and check the seeds: they should be dark, firm, and filled out, not hollow or shriveled.
Regional differences matter! In cooler zones (USDA 4-5), magnolia seeds may not ripen until October or November. In warmer zones (USDA 8-9), pods often ripen by late August.
Pay attention to your local last frost date—harvesting too late can expose seeds to freezing temperatures, which reduces viability.
For maximum viability, aim to harvest when 70-80% of pods show ripe signs. This ensures you capture the best seeds while leaving some pods on the tree for latecomers. Once harvested, clean seeds immediately by removing any remaining pod fragments or debris.
Store them in a cool, dry place (like a paper bag) until you’re ready for cold stratification, a key step for breaking dormancy.
If you’re unsure whether your seeds are ready, harvest a few pods early as a test batch. Plant them in a small pot with well-draining soil and monitor for germination.
This hands-on approach helps you calibrate your timing for future harvests. Patience pays off—ripe magnolia seeds can take 30-60 days to germinate, so don’t rush the process!
Finally, remember that not all magnolia varieties produce viable seeds from homegrown trees. Some hybrids (like ‘Ann Coulter’ or ‘Black Tulip’) may require cross-pollination for seed production. If you’re growing a named cultivar, check with local nurseries or extension services for seed viability tips specific to your tree.
Step-by-step magnolia seed harvesting process with storage tips
Harvesting magnolia seeds at the right time ensures high germination rates and healthy seedlings. Once you’ve identified ripe seed pods—brown and splitting open—the next steps focus on careful extraction and proper storage to preserve viability for up to 6 months.
I’ve harvested seeds from my own Southern magnolia trees, and these techniques work reliably.
Timing is critical: harvest seeds on a dry, sunny day when humidity is low. This minimizes mold risk during drying. Use clean, sharp tools to avoid damaging the delicate seed wings, which help with natural dispersal.
Gather pods from the ground or branches, then proceed with extraction in a well-ventilated area.
-
Step 1: Collect Seed Pods
Gently pick fully brown, cracked pods from branches or the ground. Place them in a paper bag to prevent moisture buildup. Avoid plastic bags, which trap humidity and promote mold. -
Step 2: Open Pods Carefully
Lay pods on a clean workspace (like a baking sheet). Use a small knife or pruners to split open pods lengthwise. Avoid crushing seeds—dark brown, plump seeds are ready for cleaning. -
Step 3: Clean and Separate Seeds
Remove seeds from pods using your fingers or a soft brush. Discard any shriveled or discolored seeds, as they won’t germinate. Keep only seeds with intact seed wings for planting. -
Step 4: Dry Seeds Thoroughly
Spread seeds in a single layer on a mesh screen or paper towel. Place in a dry, shaded area with good airflow for 1–2 weeks. Stir seeds daily to ensure even drying. They’re ready when completely dry and hard. -
Step 5: Store for Cold Stratification
Place dried seeds in a paper envelope with a moisture-absorbing packet (like silica gel). Store in a refrigerator at 35–40°F for 3–4 months to simulate winter conditions. This breaks dormancy and boosts germination. -
Step 6: Test Germination (Optional)
Before planting, soak 10–20 seeds in warm water for 24 hours. Place them in a moist paper towel inside a sealed bag. Check for sprouts in 4–6 weeks. Healthy seeds will sprout within this timeframe.
After cold stratification, plant seeds in well-draining soil mixed with perlite or sand to prevent rot. Sow seeds 1/4 inch deep in containers and keep soil consistently moist but not soggy. Germination can take 2–4 weeks, so patience is key—my first batch took 3 weeks to sprout!
Label your seed storage containers with the harvest date and magnolia variety. This helps track viability over time. For example, I label mine with “Southern Magnolia, Harvested 2024” to avoid confusion. Store seeds in a cool, dark place (like a basement) if you can’t refrigerate them immediately.
Properly stored magnolia seeds retain viability for 6+ months, but germination rates drop after 12 months. If you’re not ready to plant, extend storage by repeating the cold stratification process every 6 months. This mimics natural winter cycles and keeps seeds primed for growth.