How To
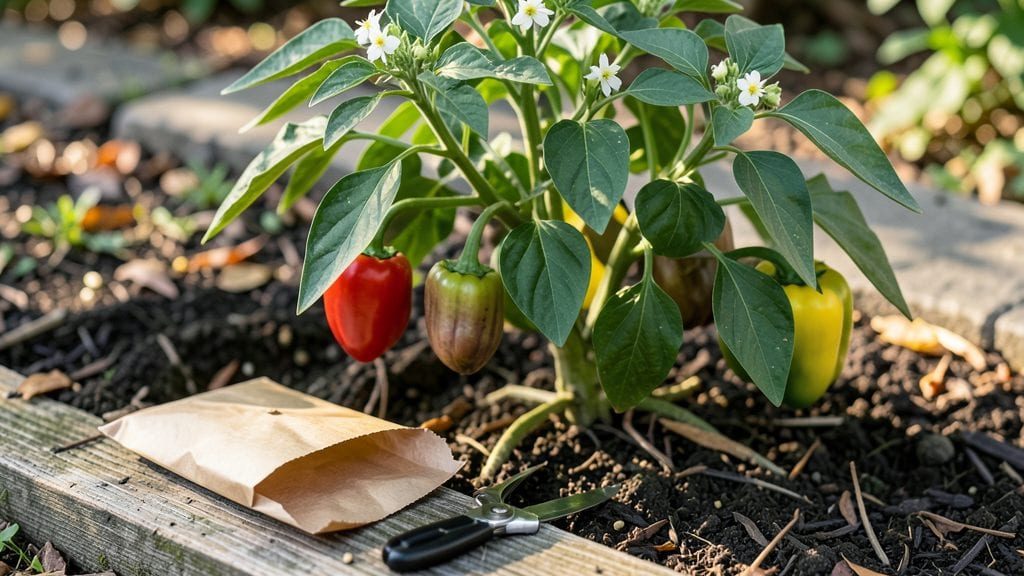
Harvesting pepper seeds from your 🌶️ plants saves money and preserves heirloom flavors—but one mistake can ruin your seeds before they even dry.
Picture this: you’ve spent months growing vibrant peppers, only to rush seed collection too early or let them ferment too long. The result? Seeds that won’t sprout next spring.
The good news? With the right timing and a few simple steps, you can turn this year’s harvest into next season’s garden staples.
Here’s how to pick the perfect peppers, extract seeds properly, and store them so they stay viable for years. No fancy tools needed—just patience and a little know-how.
By the end, you’ll know exactly when to harvest, how to clean seeds without contamination, and the best way to test their readiness for planting. Let’s get started.


When and how to identify ripe peppers for seed harvesting
Harvesting peppers for seed-saving requires careful timing to ensure viable seeds. Unlike eating peppers, you want them to overripen slightly on the vine for optimal seed quality.
This means waiting until they’ve fully matured beyond their typical edible stage—often until they soften, wrinkle, or even start to dry slightly.
For color-changing varieties like bell peppers, this means harvesting when they turn deep red, yellow, or orange—not just when they reach their peak eating color. Green varieties should be left on the plant until they’ve reached their maximum size and feel plump but slightly soft when gently squeezed.
Identifying the right moment involves checking for three key signs: mature size, correct color, and a slight softness. Skipping these steps can lead to low germination rates or seeds that won’t grow true to type.
For example, a jalapeño should be harvested when it’s fully sized and turning from green to red, not when it’s still firm and green.
🌶️
Once you’ve identified ripe peppers, avoid harvesting those with damaged skin or signs of pest infestation, as these can compromise seed quality. Focus on peppers that are disease-free and have fully developed seeds inside.
A good rule of thumb is to harvest 3-5 peppers per variety to ensure a diverse seed pool for next season.
Stop harvesting for seed-saving purposes when frost threatens or peppers begin to rot on the vine. At this point, even overripe peppers won’t yield viable seeds. Instead, prioritize harvesting fully mature but still firm peppers to maximize your chances of success.
For hybrid varieties, seed-saving is less reliable, but you can still try if you’re curious. Heirloom peppers, however, are the best choice for true-to-type seeds. Always label your seeds by variety and harvest date to keep track of what you’ve saved for future planting.
🌿
If you’re unsure whether a pepper is ready, cut it open to check the seeds. Viable seeds should be plump, dark, and fully formed, not shriveled or pale.
This quick check can save you time and effort in the long run, ensuring you only harvest peppers that will produce the best seeds.
Pro tip: Harvest peppers in the morning when temperatures are cooler. This reduces stress on the plant and helps preserve seed quality. Store harvested peppers in a cool, dry place for 1-2 days before processing to allow any remaining moisture to evaporate naturally.
✂️
Step-by-step guide: extracting and drying pepper seeds properly
Once you’ve selected your ripe peppers for seed-saving, the next critical step is proper seed extraction and drying. Unlike store-bought seeds, homegrown pepper seeds require careful handling to remove gelatinous pulp and prevent mold contamination.
Skipping this step can lead to poor germination rates or even seed loss. Here’s how to do it right for viable, long-lasting seeds.
There are two main methods for seed extraction: fermentation (the preferred method) and drying. Fermentation helps remove the seed coat’s natural inhibitors, while drying preserves seeds for storage. I recommend fermentation for best results, but both methods work if done correctly.
Let’s break down the step-by-step process to ensure your seeds stay clean, dry, and ready for planting.
How to Extract Pepper Seeds
-
Step 1: Cut open ripe peppers
Slice the peppers lengthwise and scoop out the seeds and pulp into a clean bowl. Avoid squeezing the seeds—this can damage them.
-
Step 2: Ferment the seeds (recommended)
Mix the seeds with water in a jar, filling it halfway. Cover with a breathable lid (like a coffee filter) and let it ferment for 2–4 days at 70–80°F. Stir daily to prevent mold.
-
Step 3: Rinse and strain
After fermentation, the good seeds will sink while bad seeds and pulp float. Pour the mixture through a fine mesh strainer and rinse the seeds with clean water.
-
Step 4: Dry the seeds
Spread the seeds on a paper towel or seed drying screen in a single layer. Use a dehydrator (set to 95°F) or place them in a warm, dry spot (like a sunny windowsill) for 3–5 days.
-
Step 5: Store properly
Once completely dry (they should crinkle when touched), store seeds in a paper envelope or airtight container in a cool, dark place (like a fridge) for up to 3 years.
If you’re short on time, you can skip fermentation and dry the seeds directly after rinsing. However, fermenting removes natural seed inhibitors, improving germination rates by up to 30%.
For best results, always ferment unless you’re in a hurry. Just be vigilant for mold or foul odors—these are red flags to discard the batch.
Pro tip: Label your seed envelopes with the pepper variety and harvest year. Over time, seeds can lose viability, so test a few each year to ensure they still sprout. Store them in a low-humidity environment to prevent clumping or mold growth.
With these steps, you’ll have high-quality pepper seeds ready for next season’s garden. Happy seed-saving! 🌱