How To
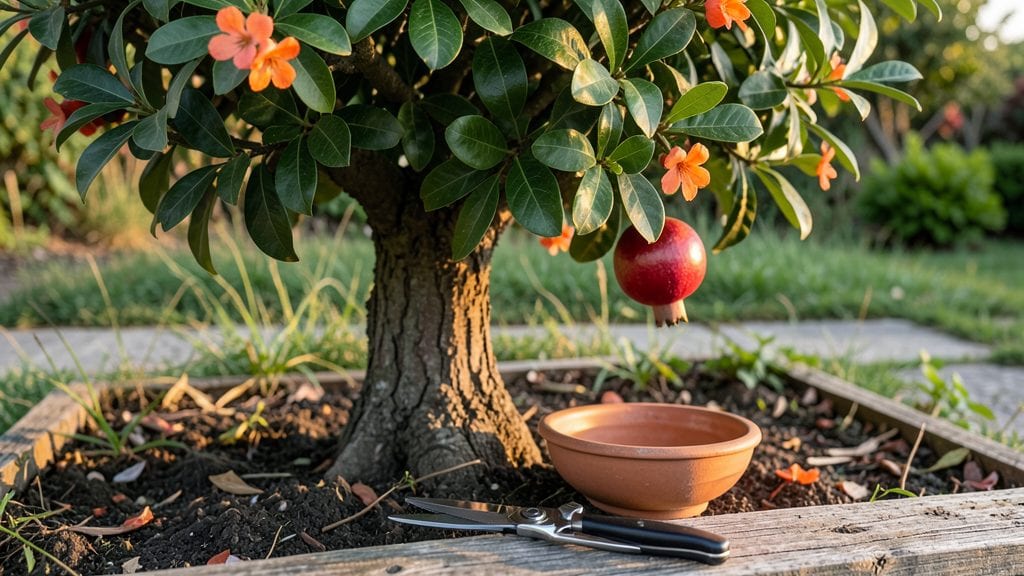
Harvesting pomegranate seeds 🍇 doesn’t have to mean a sticky, messy battle—there’s a cleaner, faster method that saves your counters and your patience.
Tired of messy juice splatters when cracking open pomegranates? Learn the cleanest, most efficient way to harvest seeds—without the sticky mess—so you can enjoy their sweet-tart flavor in salads, desserts, or smoothies every time.
With just a few simple tools and a 5-minute technique, you’ll extract every last seed while keeping your kitchen dry. Whether you’re a gardener saving seeds for next year’s tree or a chef prepping for a gourmet dish, this method works for maximum yield and minimal waste.
Below, I’ll walk you through the exact steps—from choosing the ripest fruit to storing your seeds for later use—so you never have to deal with a juice-covered disaster again.

Step-by-step guide to extracting pomegranate seeds without the juice
Harvesting pomegranate seeds without the messy juice is easier than you think! With the right cutting technique and a few simple tools, you can extract clean seeds in minutes. This method works for both homegrown pomegranates and store-bought fruit, ensuring minimal waste and maximum yield for your favorite recipes.
Start by selecting a ripe pomegranate—look for deep ruby-red skin and a slight give when gently squeezed. Avoid overripe fruit, as it releases more juice and can spoil faster. Once you’ve picked the perfect one, you’re ready to extract those arils (the edible seeds) without the sticky mess.
How to Harvest Pomegranate Seeds
-
Step 1: Cut the Pomegranate
Place the fruit on a cutting board and slice it in half horizontally, following the natural seam at the top. Use a sharp chef’s knife for clean cuts and avoid crushing the fruit. -
Step 2: Remove the Outer Membrane
Gently pull apart the two halves to expose the white membrane holding the seeds. Use your fingers or a spoon to peel it away, discarding the tough skin. -
Step 3: Separate the Arils
Hold one half over a large bowl and tap the membrane lightly with a spoon to release the arils. Alternatively, use a fork to gently pry them loose. Avoid pressing too hard to minimize juice spillage. -
Step 4: Rinse the Seeds (Optional)
If your seeds are juicy or sticky, place them in a fine-mesh strainer and rinse under cool water. Pat them dry with a paper towel to remove excess moisture. -
Step 5: Store for Freshness
Transfer the clean seeds to an airtight container. For short-term use (up to 5 days), store them in the fridge. For long-term storage, freeze them in a sealed bag for up to 6 months.
For maximum yield, work over a bowl lined with a paper towel to catch any stray seeds or juice. This also makes cleanup a breeze! If you’re planning to replant, let the seeds dry completely before storing them in a cool, dark place for up to a year.
Pro tip: Use a seed extractor tool if you’re harvesting multiple pomegranates. These handy gadgets speed up the process and reduce mess. Just pop the fruit into the tool, turn the handle, and watch the seeds spill out clean and dry!
Once you master this technique, you’ll never dread cracking open a pomegranate again. Whether you’re adding seeds to salads, sprinkling them on desserts, or blending them into smoothies, you’ll always have a fresh, juice-free supply on hand.
Remember, the key to success is patience and precision. Take your time with each step, and you’ll enjoy every bite of that sweet-tart flavor without the hassle.
Now that you’ve got the perfect batch of pomegranate seeds, why not experiment with new recipes? Try them in granola, yogurt parfaits, or even homemade pomegranate jam for a unique twist!
Best tools and techniques for efficient pomegranate seed harvesting
Harvesting pomegranate seeds efficiently starts with the right tools and techniques. Whether you're prepping seeds for culinary uses, storage, or even replanting, the method you choose impacts flavor, texture, and yield.
The wrong approach can leave you with juicy messes or bitter-tasting seeds, so let's dive into the best options to maximize your harvest.
Not all tools are created equal when it comes to pomegranate seed extraction. A sharp knife or specialized seed extractor can make the difference between a clean, quick process and a frustrating, sticky ordeal.
Below, we’ll compare the most effective tools and techniques, including their pros, cons, and best uses—so you can pick the perfect method for your needs.
Once you’ve extracted your pomegranate seeds, the next step is preservation. If you plan to use them immediately in recipes, rinsing them in cool water is the fastest way to remove excess juice and bitterness.
For long-term storage, drying seeds on a paper towel or parchment paper for 24-48 hours ensures they stay crisp and flavorful. Freezing is another great option if you’re prepping for batch cooking—just spread seeds on a tray before transferring to a bag to avoid clumping.
For replanting purposes, dried seeds are ideal because they maintain viability longer. Store them in an airtight container in a cool, dark place for up to 6 months.
If you’re unsure which method to choose, start with rinsing for immediate use and drying for storage—this gives you the best of both worlds without extra hassle.
Pro tip: Always work on a large tray or bowl to catch stray seeds and juice. A paper towel underneath makes cleanup a breeze. With the right tools and techniques, you’ll go from messy pomegranate to perfect seeds in no time!